Showing posts with label Show and Tell. Show all posts

Monday, October 22, 2012

Mini Boden Pear Shirt Knockoff


Today I've got another "I could make that" project to share.  Read on to learn how to make your own Mini Boden look alike. 


You will need:
paper or freezer paper
a new or repurposed blank T-shirt
as few or as many colors of felt as you'd like
embroidery floss
needle
scrap of fusible interfacing
basic sewing essentials

Draw or trace a pear shape onto freezer paper (or regular paper) to create a pattern piece.  Cut as many pears are you like out of felt using your pattern piece.  **If you use freezer paper you can iron it directly onto the felt. It will stick and make cutting easier.
(See my tutorial for Freezer Paper Patterns)


Place the pears wear you'd like them on the shirt, then cut a piece of interfacing big enough to cover them. Flip shirt inside out and iron interfacing to wrong side of where you'll be placing your pears.


Pin the pears where you'd like them and use a fabric pencil to draw a stem and leaf on each fruit.  
Use an embroidery needle and embroidery floss (only 3 threads of the strand) to sew a running stitch up the center of each pear and continue along embroidering the stem and the leaf.

I only now realized I forgot to embroider seeds onto them. Perhaps I'll go back and do that, or maybe not ;)


Sunday, June 17, 2012

A Dozen Days for Dad


 Steve is pretty awesome at being a fun Dad and in the best way possible. He never forces his kids to do things they don't dare to do. They completely trust, not to mention adore him. So for Father's day I thought we could continue on the Fun with Dad theme. After being shown an album a friend made for her husband with a years worth of date nights in it, I tweaked it a bit and came up with this "A dozen days of fun" album. 


 The cover even sports a crayon marking to capture the true essence of being a parent.  hehehe


 Each page is made up of a large and small envelope. The large to hold a paper stating the date and what fun activity we'll do that day and the small to store gift cards, tickets, cash or whatever we may need to make the activity happen! 


Some dates were for the whole family, and some were for just Steve and one other family member.  Instead of having them go year round, We just planned 12 summer days to enjoy (because our attention spans aren't quite that great). Needless to say he really liked it. He even said "This thing is pretty cool" which is praise from him in it's highest form. :)  What's more... you can fill the envelopes with pictures and keepsakes from each activity when you're done.


Monday, May 7, 2012

Pin Wheel Banner


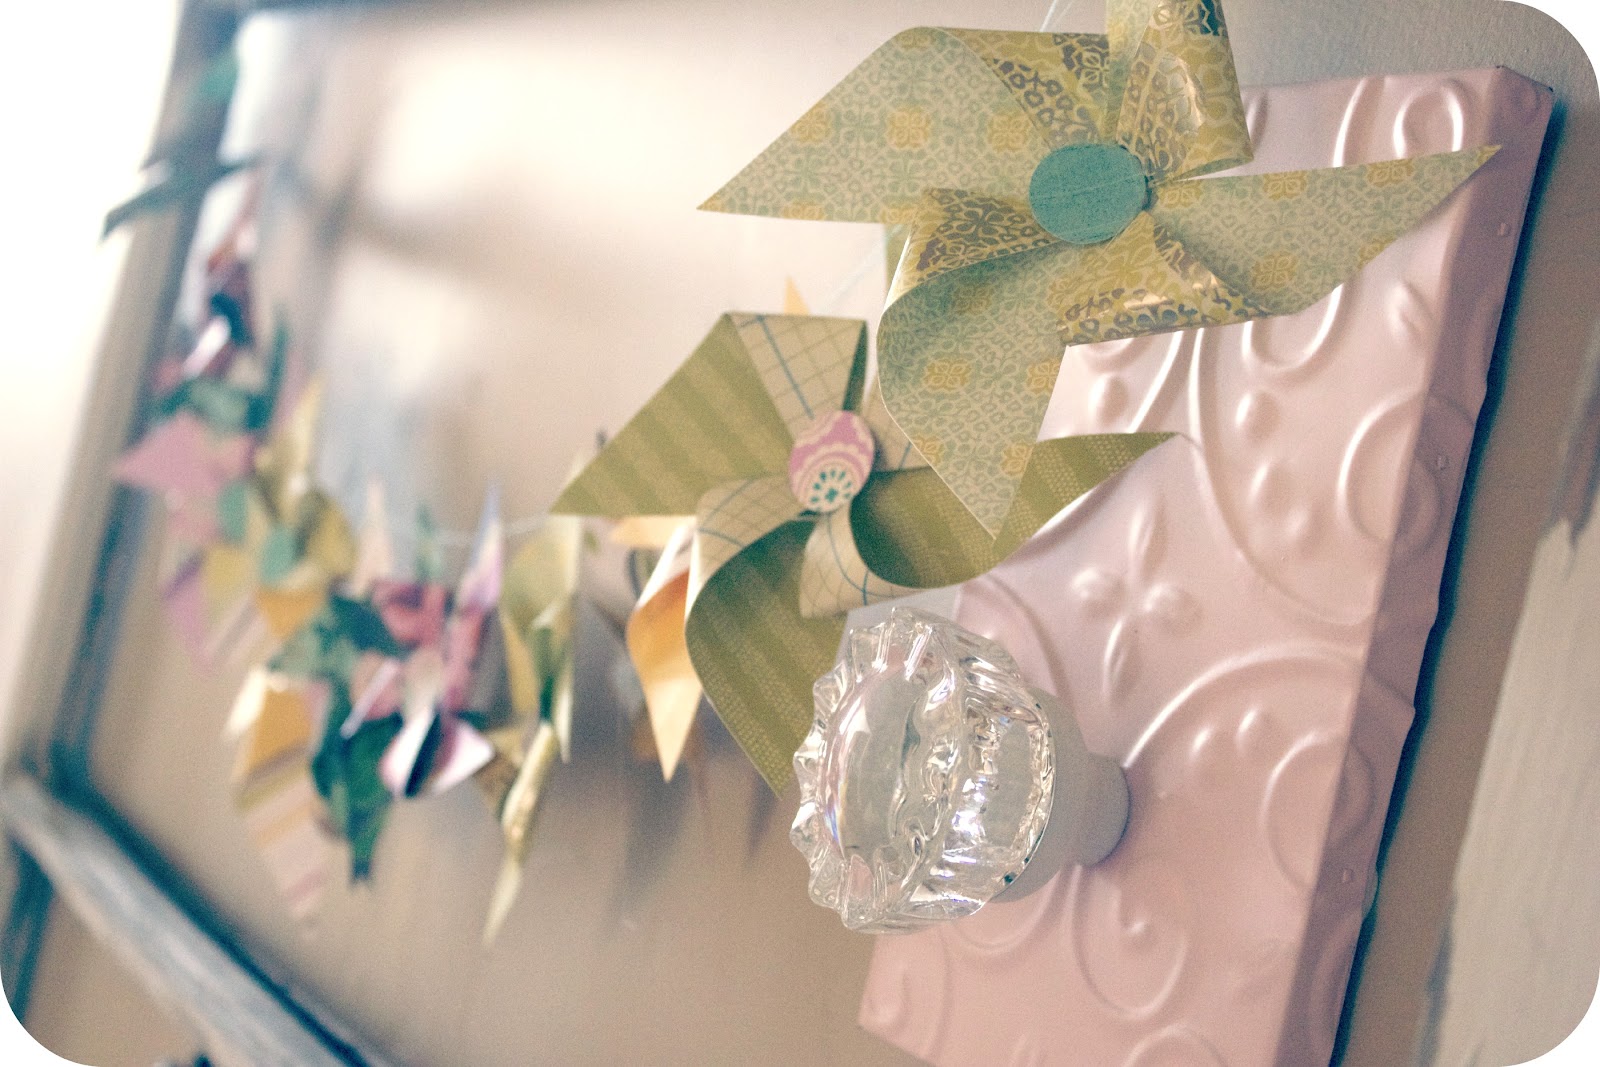
I see pinwheels everywhere, but still haven't gotten sick of them. With summer approaching it seems like a cheery little touch to my decor.  I've placed these little twirlers sporadically through out my house, but after what seemed like a pinwheel making frenzy, I still had quite a few left over, so I'd made a small banner with them.  


To make things easy on my self, I stitched the corner of each with my sewing machine, similar to my polaroid banner.


If you still haven't joined in the pinwheel craze.  Here's a quick tutorial:


1. On a square of scrapbook paper cut from each corner toward the center (but not all the way).
2. lift the right side of each cut and bend it in toward the center.
3. Hot glue each bent corner to the center and add an embellishment (you can use anything from buttons and stickers to small paper circles).


Sunday, April 29, 2012

Annual Quilt Retreat

Just arrived home from the 3rd annual Family Quilt Retreat. This year we exchanged 1930's style blocks and here are the final projects:


Mine is still a quilt top, I'd like to add another border before I throw it on the machine.


My SIL Jenny bound her's on the drive down so it was ready to go and darling to boot. 


Jamie turned her blocks into some adorable oversized pillows.


My Mom's was all hand quilted! Over achiever ;)


 and Jen's was to die for gorgeous as usual.

I'm excited for next years challenge, we have to make something using yoyo's and it can't have less than 25 in the finished project. I have a concept of what I'd like to make, but if you have any fun ideas, I'd love to hear them too.


Oh, and I nearly forgot, Block of the month for April will be up this friday.

Sunday, April 22, 2012

Pattern Review: Stella Dress


After seeing this at Quilt Market last March, I've been itching to make it. Of course, with a million other projects on my priority list, it took a bit of a back seat, but I've finally done it.
Not to toot my own horn, but Toot Toot! I think Juju's dress is even more adorable the the pattern, but how can you go wrong with Lori Holt's Daisy Cottage Fabric?


Juliette's finished dress:


In my opinion, this pattern is intermediate, or would be a great project to teach someone with. It applies several techniques that are fundamental in kids clothes like ruffles, sleeves, gathering, rolled hems and more. I loved making this, though I wouldn't plan on having it done in one afternoon. it was not hard, but took some time, especially because when I serged the bodice to the skirt I accidentally folded over the fabric without realizing. (Curse Words!!) Let's be serious though, what's a project with out a little unpicking, right? 
The bodice couldn't be saved, but thankfully the skirt was salvageable.

 I must say, I really like Izzy and Ivy Patterns, they are easy to follow and the patterns make sense as far as how the garments are put together. I don't usually make a pattern more than once, but I may just have to on this little beauty. 

This pattern is a definite recommend


Sunday, April 15, 2012

Hanky Panky

I've been collecting vintage and replica handkerchiefs for a couple years now and I've seen so many gorgeous things to make with them...


If I wasn't married already, I would definitely make Save the Date cards on them, maybe for a baby blessing in the future (No, that's not an announcement)

I've thought about doing this as well, but I've got shutters in my house and it wouldn't really work.


These pillows are darling,


and you can't go wrong with bunting


  or a table runner.


Framing them is simple enough,


Or do what I did, and add them as an apron to a skirt for your munchkin. 


you can link to all the above pictures from my Hankies Board on Pinterest.

Saturday, April 7, 2012

Easter Hat Fascinator


I used to love wearing hats and gloves to church when I was growing up. Now that I have a little girl of my own how could I resist fashioning a tiny Easter Hat Fascinator out of a doll hat...


 bits of lace, ribbon, silk flowers and handmade flowers


a few beads and a lot of love. :) Now, where to find gloves?...

Monday, March 19, 2012

Applique on Paper


After ironing an appliqué to my piano, the potential of the quilting technique had me experimenting. I love how this fabric appliqué looks on scrapbooking paper and it's perfect for a small project like a bookmark. It took very little pressing with the iron (especially good, because I was worried about paper + heat). I zig zagged around the edges to the keep them from lifting and it was finished. I think I may try this on my next mini album.  

Friday, March 9, 2012

Pattern Review: Double the Fun Quilt

The Pattern:


My Finished Quilt:


I found this pattern in Quilts and More Magazine and was looking for something simple for a bedroom revamp I'm tackling. Wow, what an easy and fast pattern to complete. I had this quilt pieced, quilted and bound with-in a week and even went out of town for 3 days. I used some fabrics I had around and others from Sew Obsessed. 
The pattern is for a reversible quilt, but I put a backing on it instead, just to make it that much easier. I would make this quilt again in a heart beat. Fun, Fast and Finished!


Now that's said and done, let the initiating begin...


Friday, March 2, 2012

Don't judge a Nook by it's cover

I'm off again...leaving on a Jet plane. This time for work.  I ordered a Nook cover on eBay, but it didn't make it to my home on time, so I threw this Sleeve together before I left today.  I've never been great at taking care of things and I figure if I want my Nook to make it back in one piece, I'd better get some kind of protection for it. Here's what I came up with:


I added one of my DIY labels to the inside for fun. 
Fabric I used (regular cotton, non- pre quilted)


I'll miss my lil' munchkins. I've been gone twice this year already, so I've been soaking up every solitary second with these precious people.  Here's what we've been up to:


1. Juliette putting herself in timeout
2. Nap time Project
3. Why antique toys don't make the best decorations
4. Go Big or Go Home... late night crafting with a friend
5. post-workout smoothies
6. Alfie makes his own PB&J...Yay for me!!
7. Climbing furniture
8. Running errands
9. She doesn't share

*If you haven't jumped on the Instagram bandwagon, download their app and let the addiction begin*