
When Juju woke up this morning and asked "Am I three?" I couldn't bring myself to get technical and tell her that she is actually 2 for few more days. She is all girl, so of course she wanted a princess party and I obliged. I will admit, I do a bit of vicarious living through my little girl. I mean really, who doesn't want to be treated like a princess?
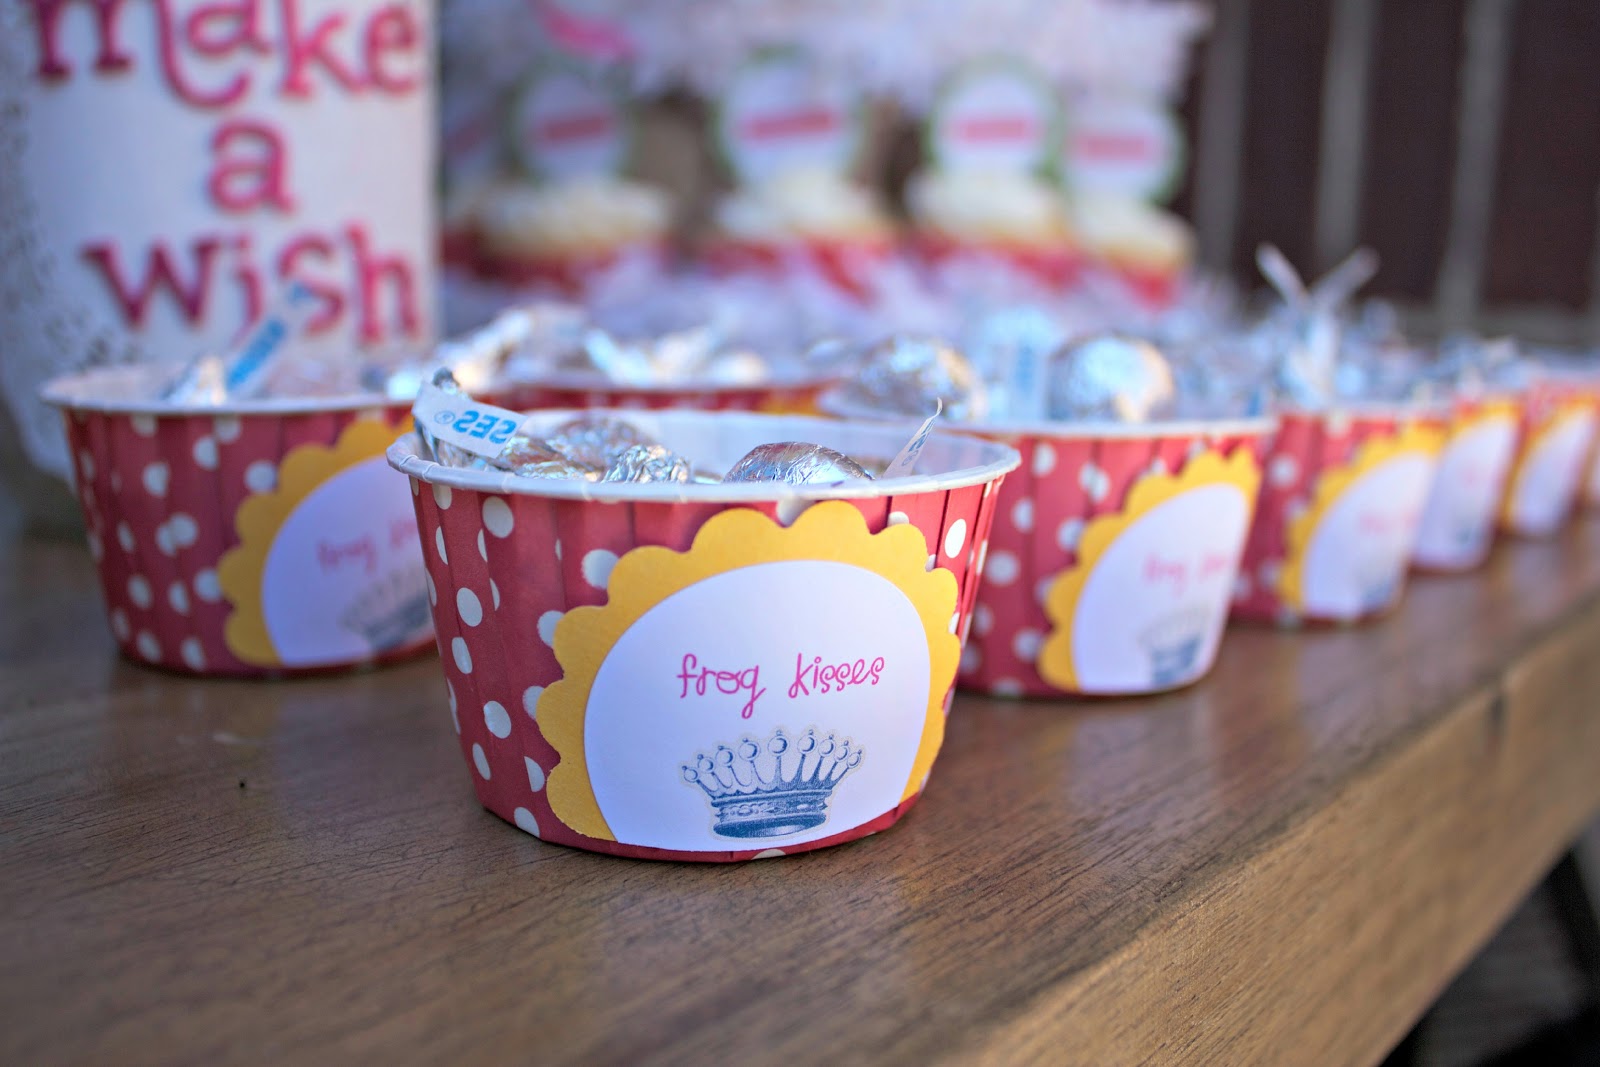
Here are a few of the details from her party:


Every princess there went Gaga for the Barbie cake which I had done at Dipidee.

They all threw pennies into the wishing well and one of the little girls got very concerned after she threw her penny in before she made her wish! Thankfully we had a few extra, and she tried again.

We sang happy birthday, ate cupcakes and Juliette was completely smothered by gifts. I couldn't even get a decent picture. Most of the girls just opened the gift themselves and handed them to her, but she didn't seem to mind.

I really should have taken a before and after shot of this little crew, there was no denying they had a blast in the bouncy house.

Each girls went home with a wand, crown, stick on earrings and freshly painted paws.
Girl heaven I tell you.

%20to%20gather%20fabric)


