Part One: Chalk Board

Creating a Chalk Board right on your wall couldn't be easier.
I bought Chalk board paint at Home depot for $12.00
I just taped off where I wanted it
Painted it with a little roller (then did a second layer 4 hours later)
removed the tape
Waited three days
and prepped the surface (by laying chalk on it's side and filling in the entire area then erasing-this makes it easier to erase when you write)
you're done!
Part Two: Curtains

Cut a piece of fabric as wide as your rod plus 6 or 7 inches
and twice as long as you want them

fold your material right sides together(like a hot dog, not hamburger), then fold down the top piece slightly and add a fringe (with the fancy stuff facing in toward the material)

fold the top layer back up over the fringe and pin all three layers in place

Move your the needle on your sewing machine all the way to the left and sew a straight seem all the way along the pinned edge backstitching at each end (your should now have a sleeve of material

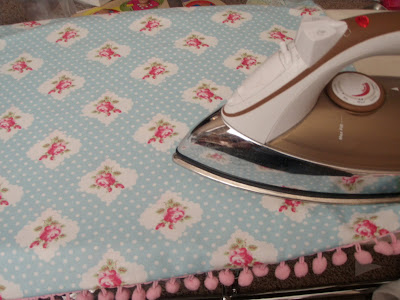
Flip your sleeve right side out and iron the material near the fringe to smooth it out

at each end/opening fold the edge in about a half inch to an inch. and sew a zig zag "hem" to finish the edges (you won't see these when you are finished) I sewed on the right side of the fabric starting right in front of the fringe and ending right before I hit it again. This way I didn't have to sew over it.

Give your curtains one more good press and Hang them up!

since I just kinda made these up as I went along, I think they probably work best with a rod that is curve on the ends. ( you know, the cheap ones)
Just one or two more days and I am done!

1 comment:
i found your blog via jennie bennion. Such a cute blog, i follow it daily! thanks for all the awesome stuff, and i hope someday you do a tour of your house!:)
Post a Comment